
5 professional tips to elevate your food photography and produce visuals that not only look delicious — but feel immersive.
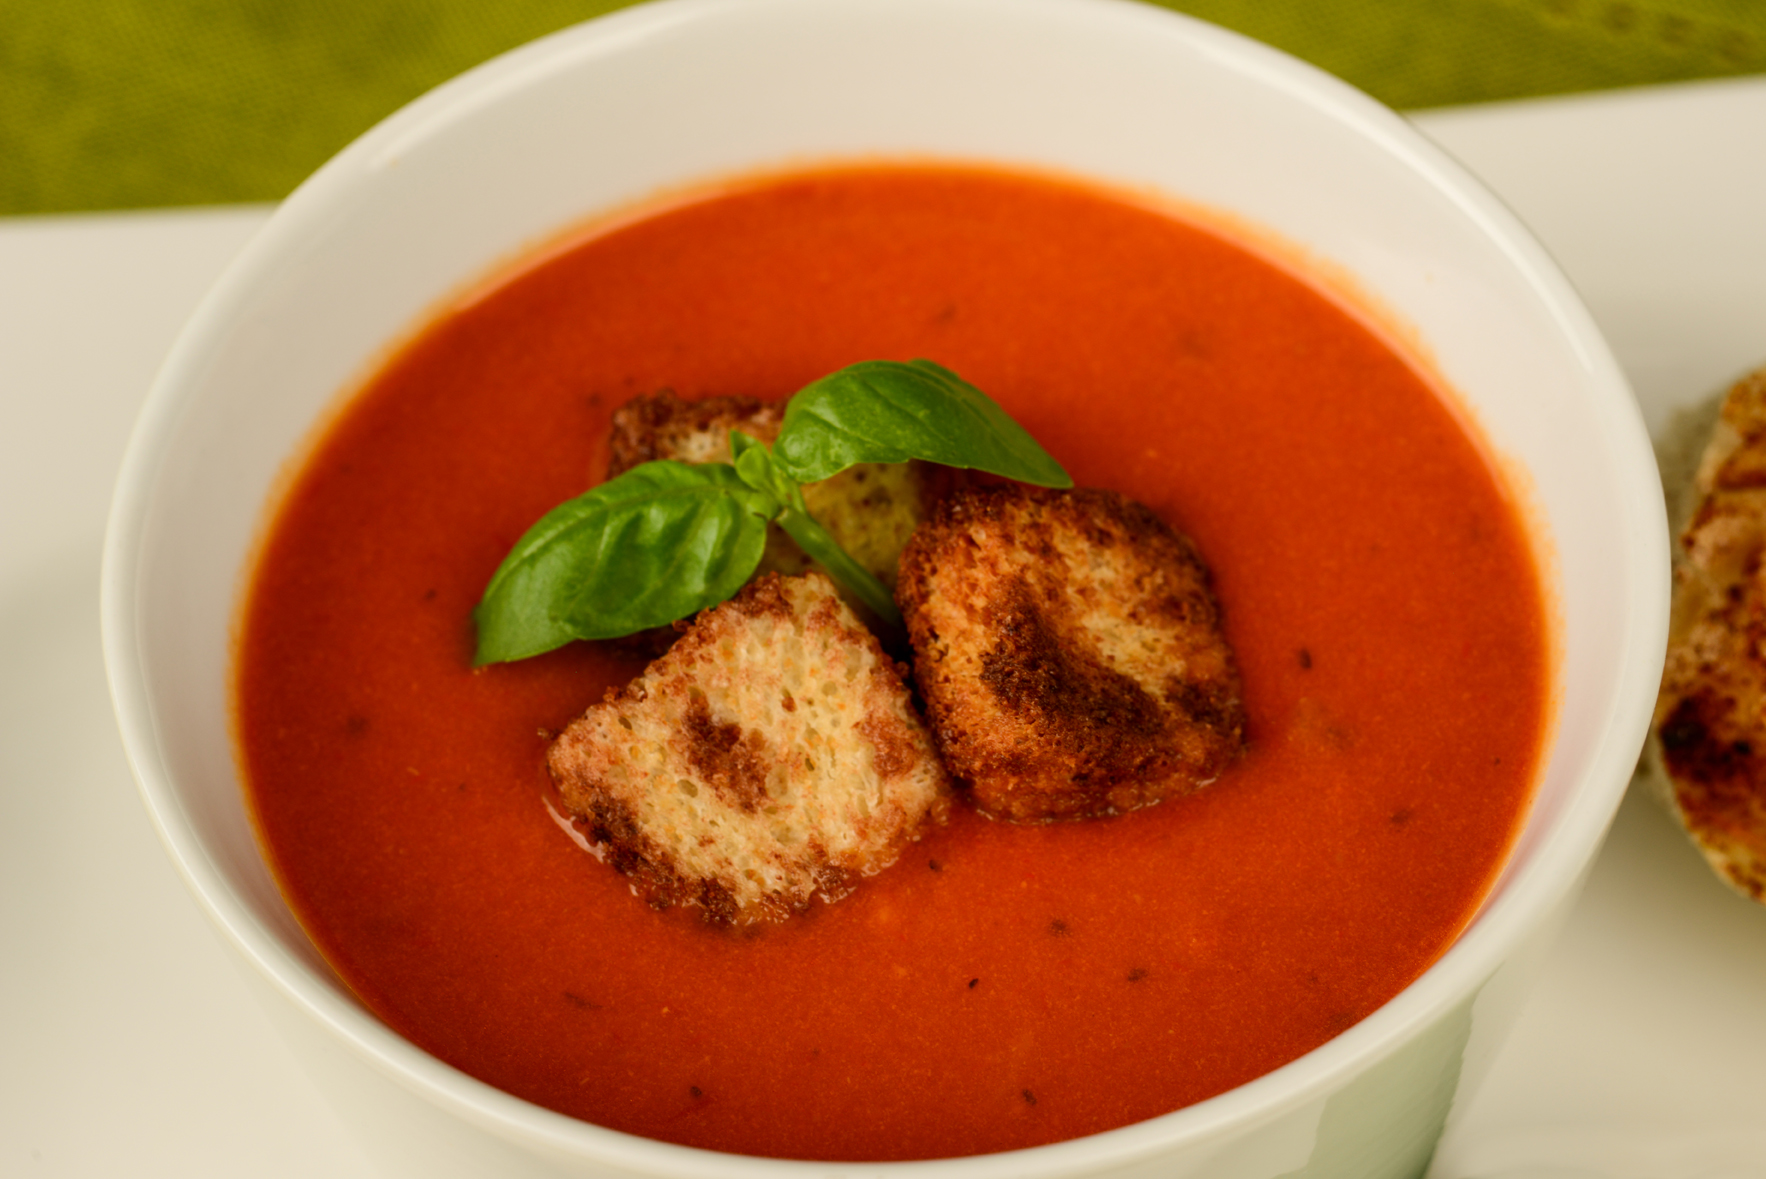
1. Use a Low Aperture to Create a Shallow Depth of Field
One of the most powerful ways to guide the viewer’s eye is through aperture control. By shooting with a wide aperture (typically between f/1.4 and f/4, depending on your lens), you create a shallow depth of field that isolates your subject while allowing the background to fall into a soft, creamy bokeh.
This technique is especially effective for:
- Drawing attention to a specific focal point (e.g., the glisten of olive oil, the texture of a seared steak).
- Minimizing background distractions in busy environments.
- Adding visual depth and a more cinematic, editorial feel to your photos.
👉 Pro Tip: Use manual focus for precise control, especially when working with macro lenses or shooting close up.
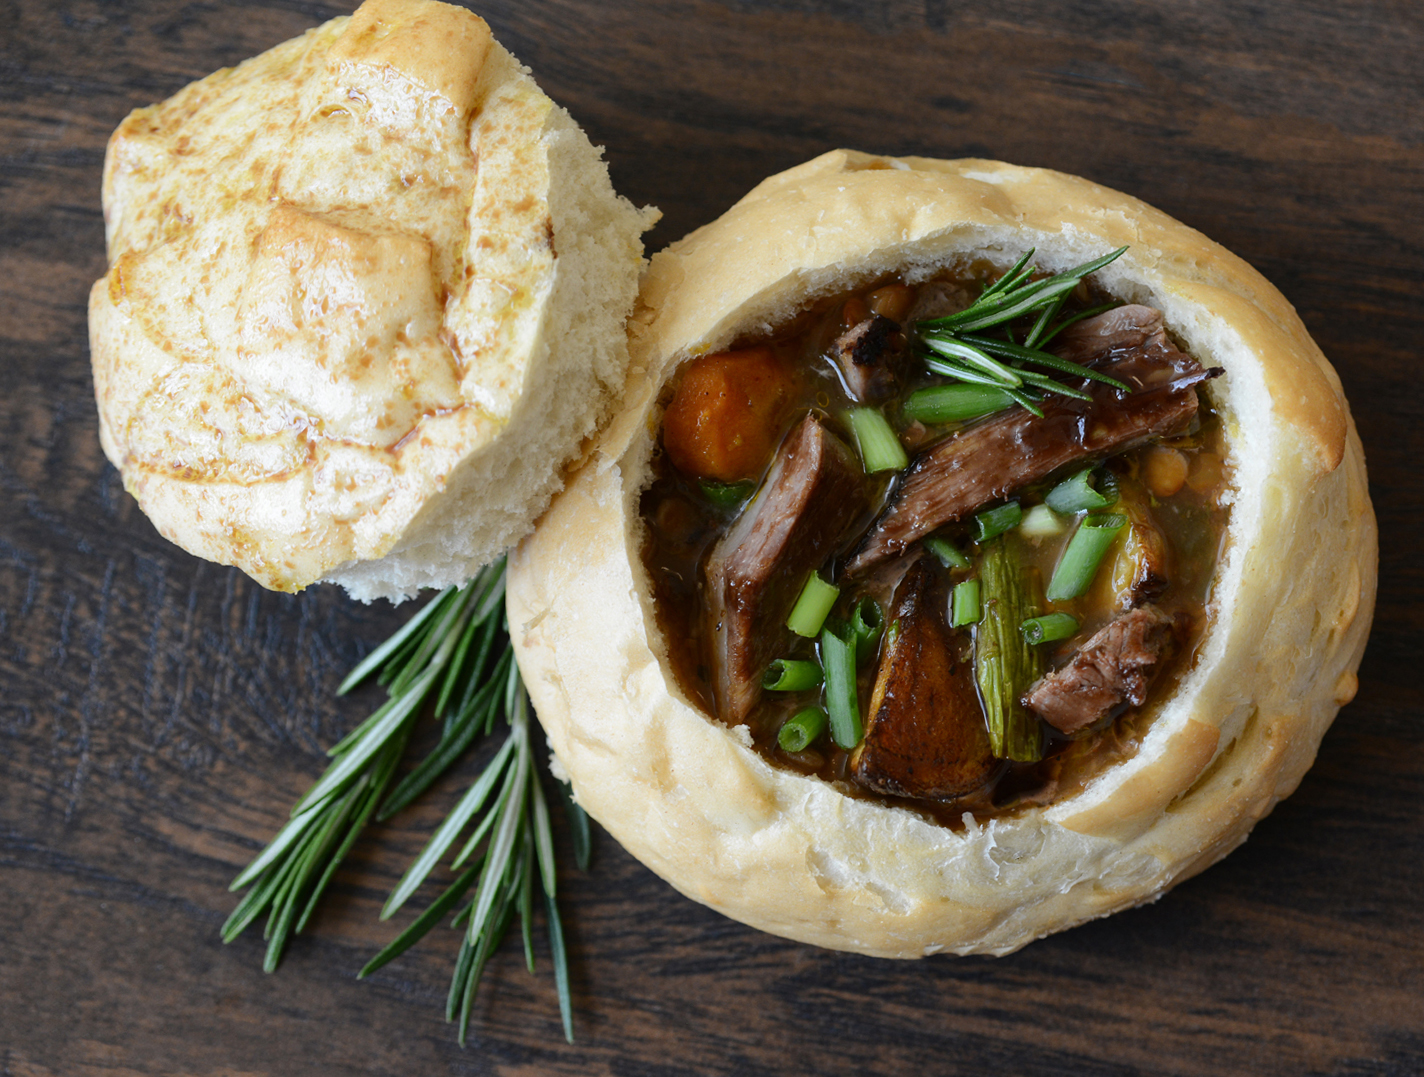
2. Compose with Purpose Using the Rule of Thirds
Strong composition is the foundation of professional imagery. The Rule of Thirds — dividing your frame into a 3×3 grid — is a time-tested method to enhance balance and flow in your photos. By positioning your subject or key elements along these gridlines or intersections, you naturally guide the viewer’s gaze through the scene.
This compositional technique helps:
- Create asymmetry that adds intrigue and dimension.
- Emphasize negative space, which can highlight texture and shape.
- Lead the eye with props or ingredients toward the focal point.
👉 Pro Tip: Use your camera’s built-in grid overlay while composing your shot. Don’t be afraid to break the rule once you’ve mastered it — creative composition is about knowing when to follow and when to innovate.
3. Keep Your Prop Styling Simple and Intentional
In food photography, props serve the story — not the other way around. Overstyling can easily detract from the subject. A minimalist approach, paired with thoughtful selection, allows the food to shine without visual clutter.
Here’s how to style effectively:
- Opt for neutral-toned surfaces and muted ceramics that enhance rather than compete.
- Use a consistent color temperature across props and backgrounds for visual harmony.
- Incorporate negative space to avoid crowding the frame.
Each item in your frame — from a vintage fork to a linen napkin — should either provide context or reinforce your visual narrative. Think like a set designer: props should support the mood, not steal the scene.
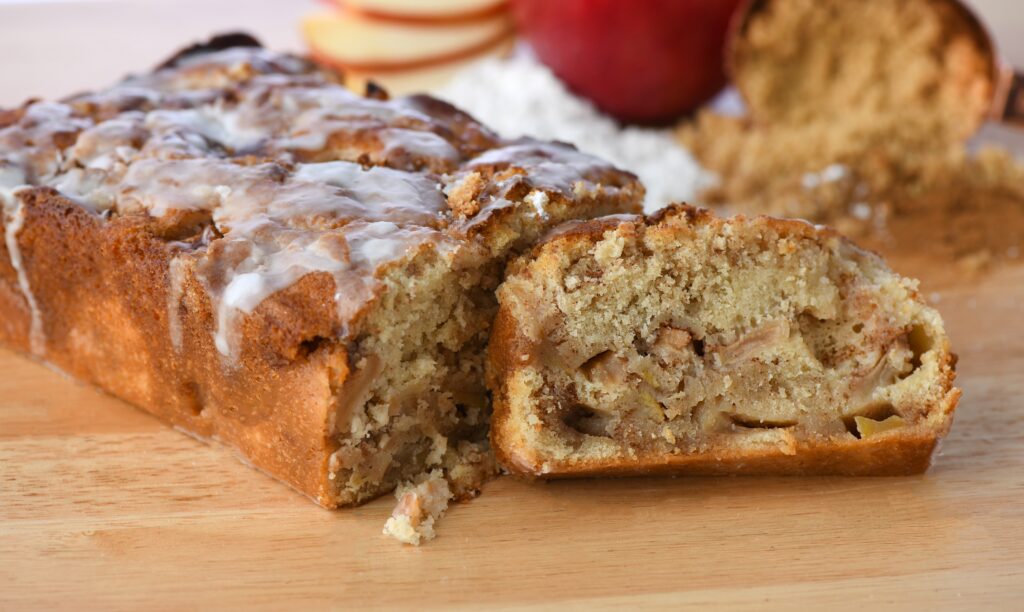
4. Emphasize Texture to Bring the Dish to Life
Texture is the tactile voice of your image. It’s what makes viewers feel the food — the crackle of caramelized edges, the fluff of a freshly baked cake, the sheen of glaze on a donut. Without texture, food photography can feel flat or sterile.
To enhance texture:
- Use side lighting or backlighting to sculpt your subject with shadows and highlights.
- Shoot with a macro lens or close-up filters to capture fine details like crumbs, bubbles, or herbs.
- Avoid excessive smoothing or clarity reduction in post-processing — let the food’s natural grit show through.
👉 Pro Tip: Spritzing water or oil can restore freshness to styled food that’s been sitting under lights too long.
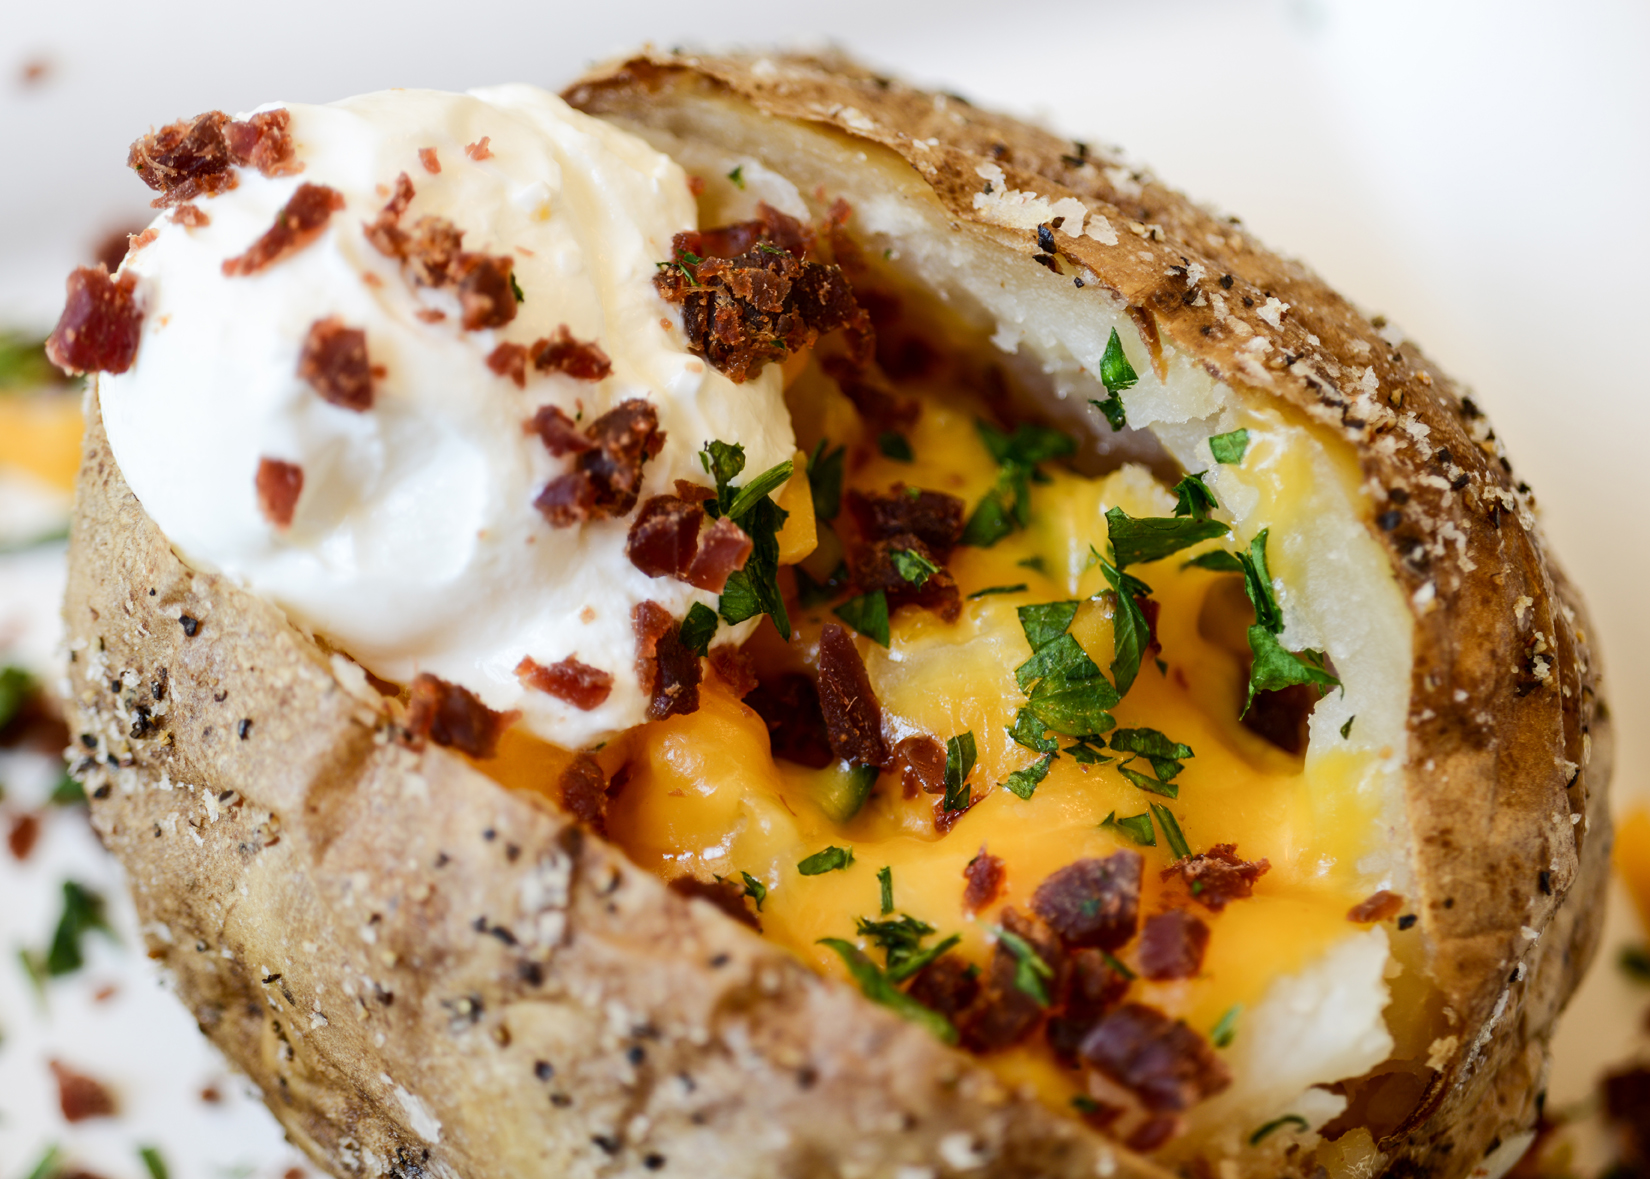
5. Prioritize Consistent Lighting — Natural or Controlled Studio
Lighting is arguably the most critical element in food photography. Whether you shoot with diffused window light or artificial studio lights, your goal is to create clean, even illumination with natural-looking shadows.
Best practices for lighting:
- Position your light source at a 45-degree angle to the subject for depth.
- Use diffusers (like scrims or sheer curtains) to soften hard shadows.
- Reflect light back into the scene with white foam boards or bounce cards.
Avoid mixing color temperatures — combining daylight with tungsten bulbs can introduce unwanted color casts and make white balance correction a nightmare in post.
👉 Pro Tip: If using artificial lights, opt for high CRI (Color Rendering Index) LED panels to maintain accurate color rendition of food tones.
Conclusion
Truly impactful food photography comes from a blend of technical precision and creative storytelling. Every decision — from aperture and light placement to prop choice and texture — contributes to the final narrative. Don’t just aim to make your food look good — aim to make your audience feel hungry, nostalgic, curious, or inspired.
By mastering these core techniques, you’re not just capturing a dish. You’re crafting a scene, setting a mood, and inviting your audience into a moment.
Contact us to learn more.