
You’ve booked your product shoot—great! Now what?
How you prep your products before they ever hit our door can make or break your results. Wrinkled garments, scuffed packaging, or mismatched samples can slow down the shoot, cost you time and money, or result in images that don’t reflect the quality of your brand.
As a professional product photography studio, we’ve seen it all—and we’re here to make sure your shoot goes smoothly. This guide covers everything you need to know about getting your products photoshoot-ready.
Why Product Prep Matters
You wouldn’t show up to a job interview without ironing your shirt or brushing off your shoes, right? Your products need the same kind of attention before they’re photographed.
Proper prep ensures:
- Faster, more efficient shoot days
- Fewer retouching hours (aka no additional editing cost for you)
- Better final images with less post-production editing
- A polished, professional look that builds brand trust
Step 1: Finalize Your Shot List
Before you prep a single product, make sure your shot list is locked in.
Ask yourself:
- What angles or details do I want to capture?
- Do I need packaging shown?
- Will I need lifestyle setups, on-model shots, or props?
We recommend working with your project manager to align on a clear shot list and creative direction. This will determine which products you need to prep, how many samples to send, and what condition they need to be in. If you are not sure, we can help guide you.
Step 2: Choose the Best Samples
Send your most pristine units—not the extras from the back of the warehouse.
What to look for:
- No dents, tears, or worn-out labels on packaging
- Clean, dust-free surfaces
- Even stitching and tag placement on apparel
- Fully functional product features (zippers, buttons, displays, etc.)
For apparel, choose pieces that match your sizing needs for the shoot (especially for mannequins, or model sizing).
💡 Pro Tip: Always send backups! If one item gets damaged in transit or doesn’t sit well under lights, having extras can save the shoot. (We will give them back, don’t worry.)
Step 3: Clean & Prep Ahead of Time
Even small imperfections will show up under studio lighting and high-res lenses—dust, wrinkles, smudges, you name it.
Here’s what to do before shipping or bringing your products to the studio:
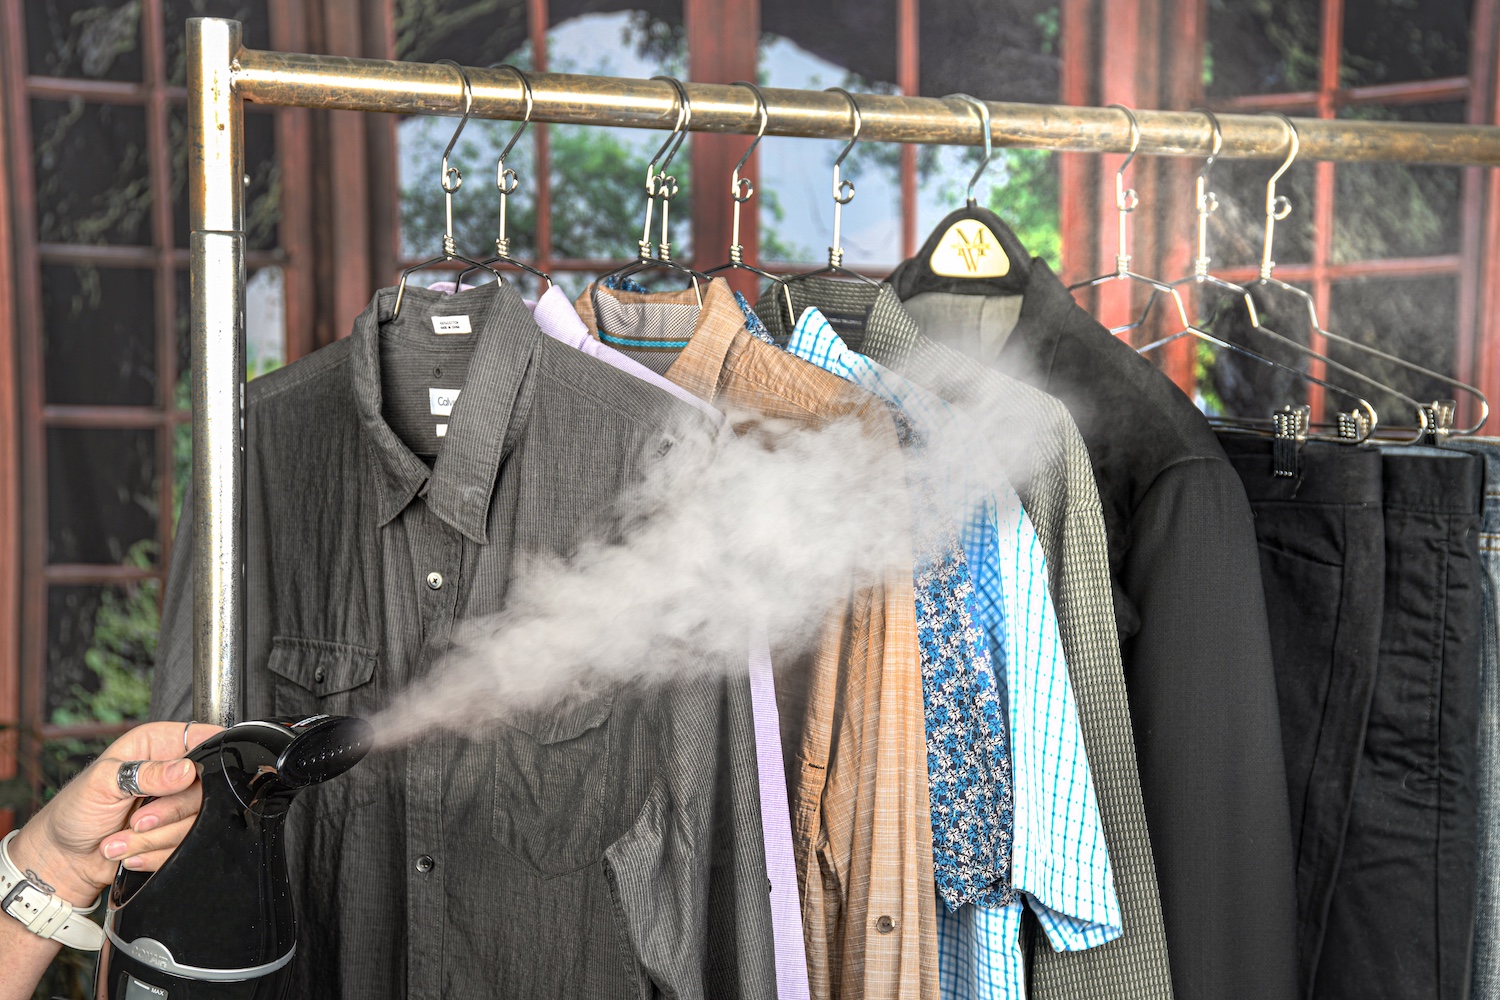
For Apparel:
- Steam or press garments
- Remove tags, lint, and stickers
- Bring proper hangers or packaging for transport
- Clip or pin garments to maintain shape if needed
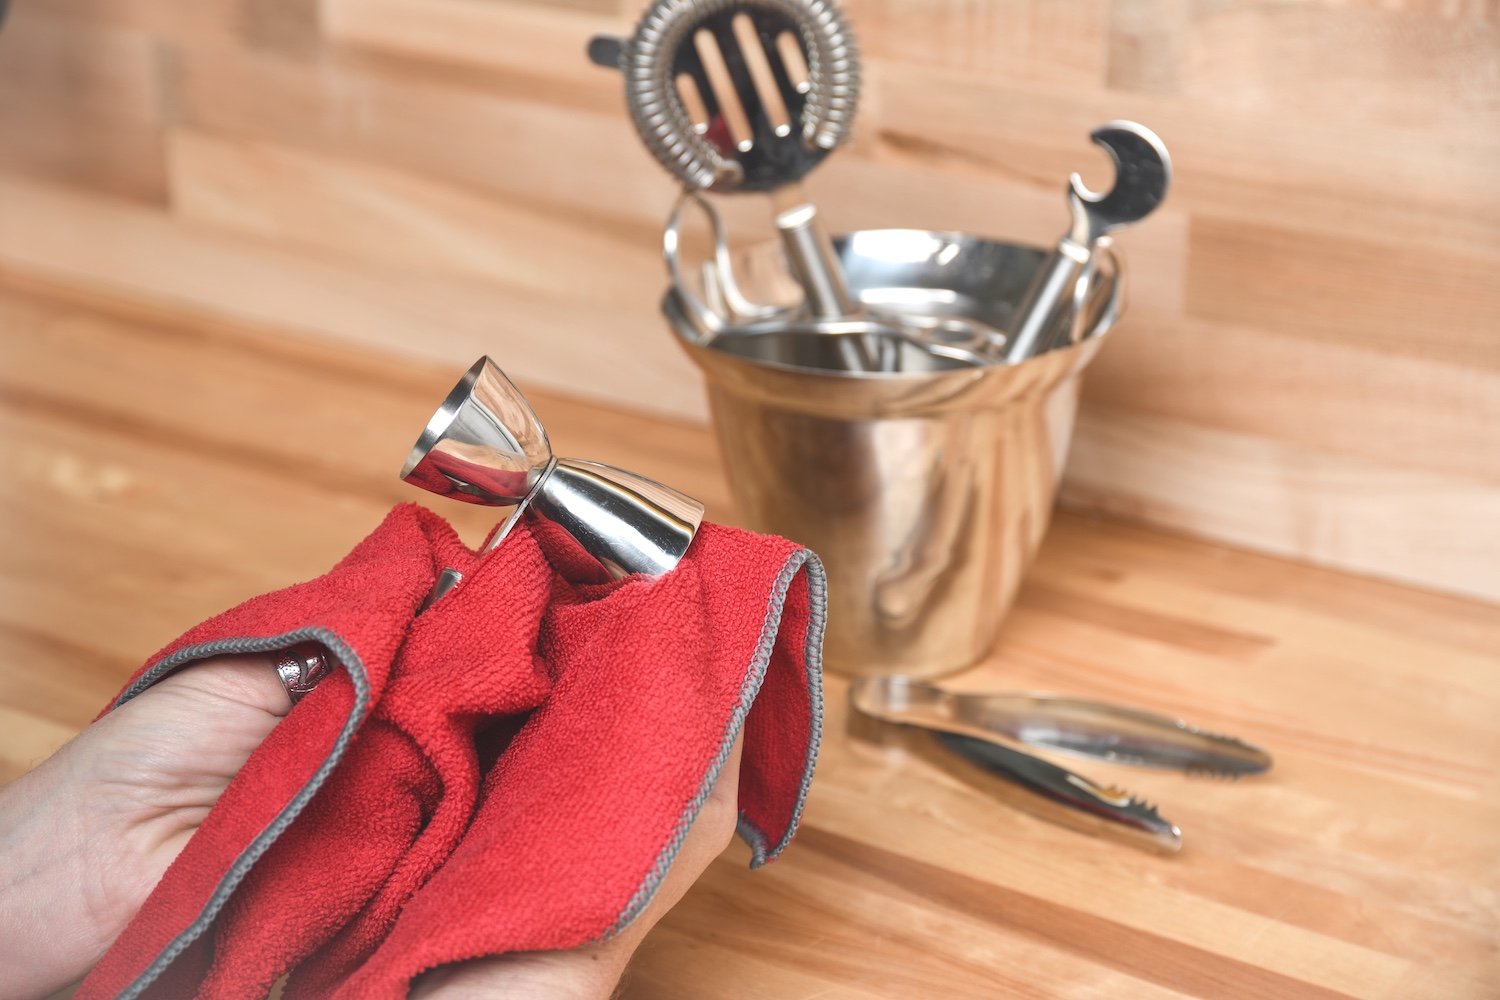
For Hard Goods (e.g., beauty, tech, home goods):
- Wipe down surfaces with microfiber cloths
- Remove fingerprints, dust, and stickers
- Ensure logos and labels are aligned and legible
- Charge electronics if needed (for lit-up displays)
For Packaging:
- Check for scuffs, dings, or misprints
- Send flat and assembled versions if both are needed
- Include inner and outer packaging if applicable
We will do minimal clean up when your products arrive to us, shipping will inevitably add a few specs of dust or creases in garments, but it saves time (and cost) for you to have the bulk done.

Step 4: Label & Organize Everything
When you’re sending multiple products, variations, or sizes, label everything clearly—and keep things organized.
Use:
- Zip bags for individual SKUs
- Our import spreadsheet that matches SKUs to the shot list that includes what shots you need of each SKU
✨ Bonus Tip: If your product has “tricky” elements (shiny surfaces, reflections, see-through packaging), flag them in advance so we can prep lighting and setup accordingly.
Our Studio Checklist: What We Ask Clients to Send
To make your prep as easy as possible, here’s what we typically ask our clients to include:
- ✅ Clean, ready-to-shoot products (with backups)
- ✅ A finalized shot list with creative direction
- ✅ Any relevant props or packaging materials
- ✅ A clear labeling system
- ✅ Contact info for any day-of questions and online approvals after editing.
A Little Prep Goes a Long Way
The better your products are prepared, the smoother your shoot will run—and the better your images will turn out. It’s one of the most overlooked parts of the content creation process, but it makes a huge difference in the final results.
At Skupics Studios, we’re here to guide you every step of the way. From pre-production planning to post-production delivery, we treat your products like they’re our own.
📩 Need help planning your next shoot?
Get in touch to schedule a free consultation.